
7 tips for gardening over 50
There’s no extra credit for doing it the hard way

Cucumbers from the first year of our “If I could do it again” garden.
In the last two years, Will and I have gotten to use our 4 decades of combined garden experience and built our “If I could do it over again” gardens. We both agree these are our best gardens ever for ease and productivity.
Here is a video to accompany this blog post. Update: July 2, 2024.
A garden tour
Most of my life, I heard that the check engine light comes on at 50. In my late 40s I was working full time, sometimes 14 hour days on my feet. I walked 6-10 miles a day at work, ate healthy, had an off-grid 30 acre farm, and ran a small business. I didn’t think it would happen to me. Then after a series of unfortunate chemical exposures and a particularly bad virus, I developed a neuro-immune disorder that brought me to my knees. When menopause kicked in on top of that, life as I knew it changed.
My ability to work outside of the home was over, but thankfully a team of ayurvedic doctors made life manageable. I sold my farm, moved in with my amazing partner, and we decided to build new gardens that were easier to deal with. There is no extra credit for doing things the hard way. Here are 7 techniques that have made all the difference for gardening in my 50s.
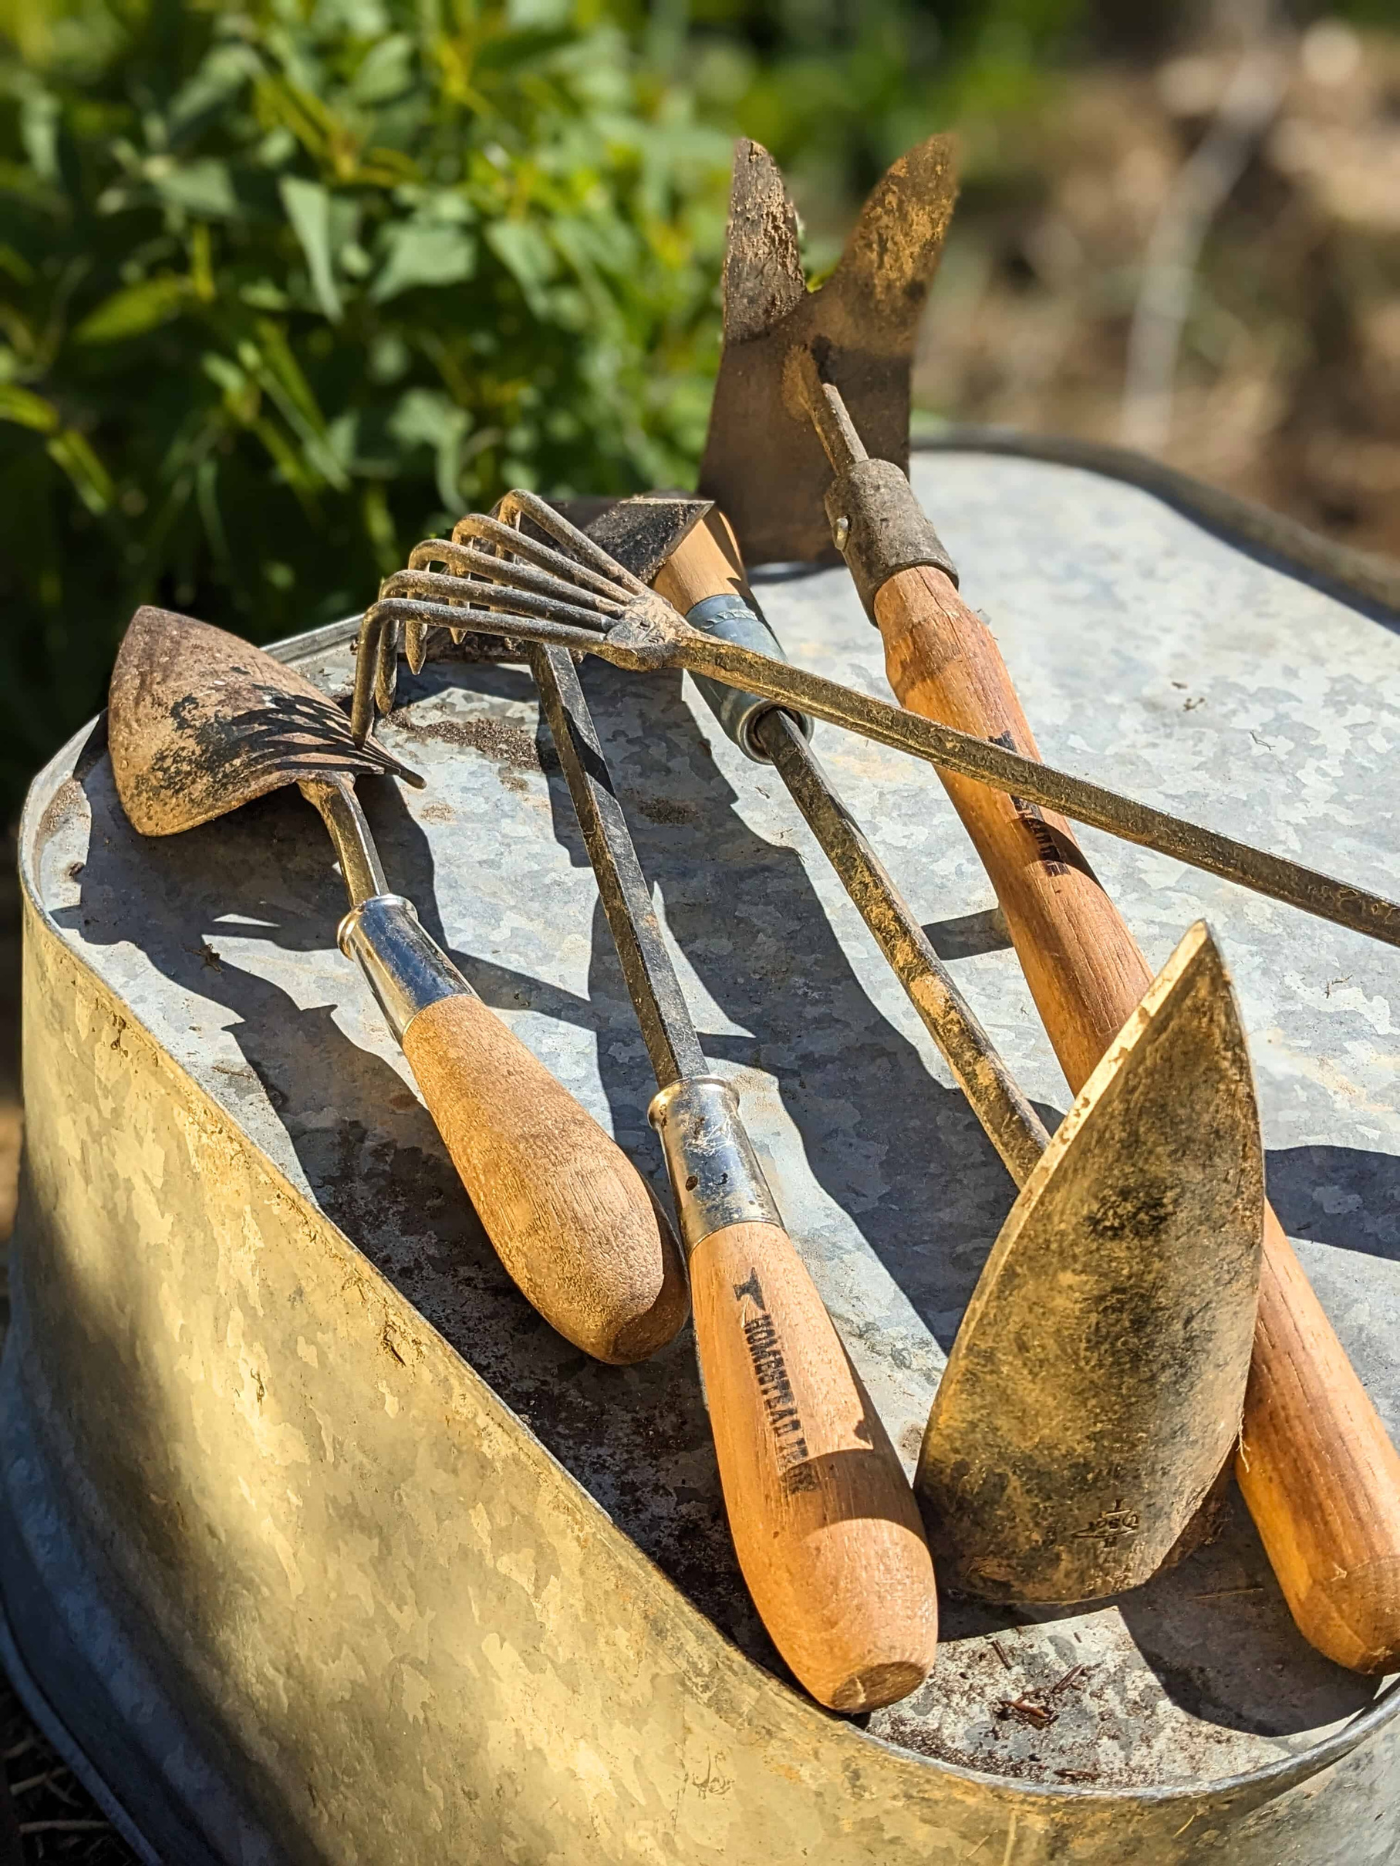
My oldie but goodie Homestead Iron tools
1. SHARP STRONG TOOLS
“The best investment is in the tools of one’s own trade.”
If you’ve gardened for any length of time, you know how horrible cheap big-box store garden tools are. Not only are the edges round and dull, but they easily break. It’s like trying to use a butter knife to cut a steak and it takes all your energy. If you can do nothing else, getting good tools is a game changer.
If you get two seasons out of cheap tools, you’re lucky. About 11 years ago, I finally started buying strong, sharp tools from Homestead Iron. They are the strongest tools I could find and I’ve since learned these tools are also used by professional gardeners. Yes, you “buy once, cry once”, but they’ll be around for generations and use less of your energy.
“The bad thing about my tools is they aren’t cheap. The best thing about my tools, they aren’t cheap.”
Big Box store tools are made with metal for toasters or car fenders. Forged tools are made with high Carbon steel like you would use for an axe. The handles are made with sustainably harvested American Hardwoods that are the strongest in the industry. The wood is dense and shock resistant. I like using them to help me get up from a kneeling position as well and I can put my full body weight on them. The edges are sharp so they cut into the soil doing the work for you.
Now that I’ve partnered with Will at Homestead Iron (we met when I was buying a trowel) and have access to a huge variety of garden tools, I have two new favorites that I use for almost everything. The short handle V-Hoe and the Long handle Strawberry hoe.
I use the V-Hoe to plant starts, and for light and aggressive weeding. The weight and shape of the tool stabs deep down into the ground with ease, then I pull the dirt back towards me, the tool keeps the dirt in place, pop in my start and then cover it with the same tool. The long handle strawberry hoe has two heads, a very narrow side that I like for getting tufts of grass out of my perennials and for strategic weeding and there is a larger hoe on the other side of the head for everything else.
Here is a video of me with my favorite Strawberry Hoe getting grass out of my clover patch.

Barrow de Chonk aka Gorilla Cart.
Other than sharp tools, my 2nd best purchase in the history of my gardening is a Gorilla Cart with a dump handle and fat tires. Trust me, you are going to want one of these. The “barrow de Chonk”, as I call it, is big and sturdy and by far the best garden cart I’ve ever had. She can get around tight turns and you don’t have to be careful with what you throw at her. She’s been with me for years and there is zero sign of wear, she can haul anything and go over bricks or rocks with her big fat tires like they aren’t there.

Wide borders between the fence and garden beds for protection.
2. SPACE
“In today’s life, Luxury is Time and Space.”
Every garden I did up until my 50s felt cramped. I was trying to maximize space. The beds were next to the fence or the walkway between the fence and beds was too narrow. The gates were narrow and the wheelbarrow barely fit though. If you have enough space, don’t put the garden beds right next to the fence. Keep a very wide barrier between the fence and the beds.
The fence line is the best trap for growing all the vines, thorn bushes, and plants that are the hardest to manage and that eat your garden. By keeping the beds far away from the fence line, you keep the beds safe and you can hit the fence line with the mower or weed whacker. I prefer a wheeled trimmer so I don’t have to carry a weedeater around. Having a fence line that you can easily maintain and walk on has been a tremendous “luxury”.

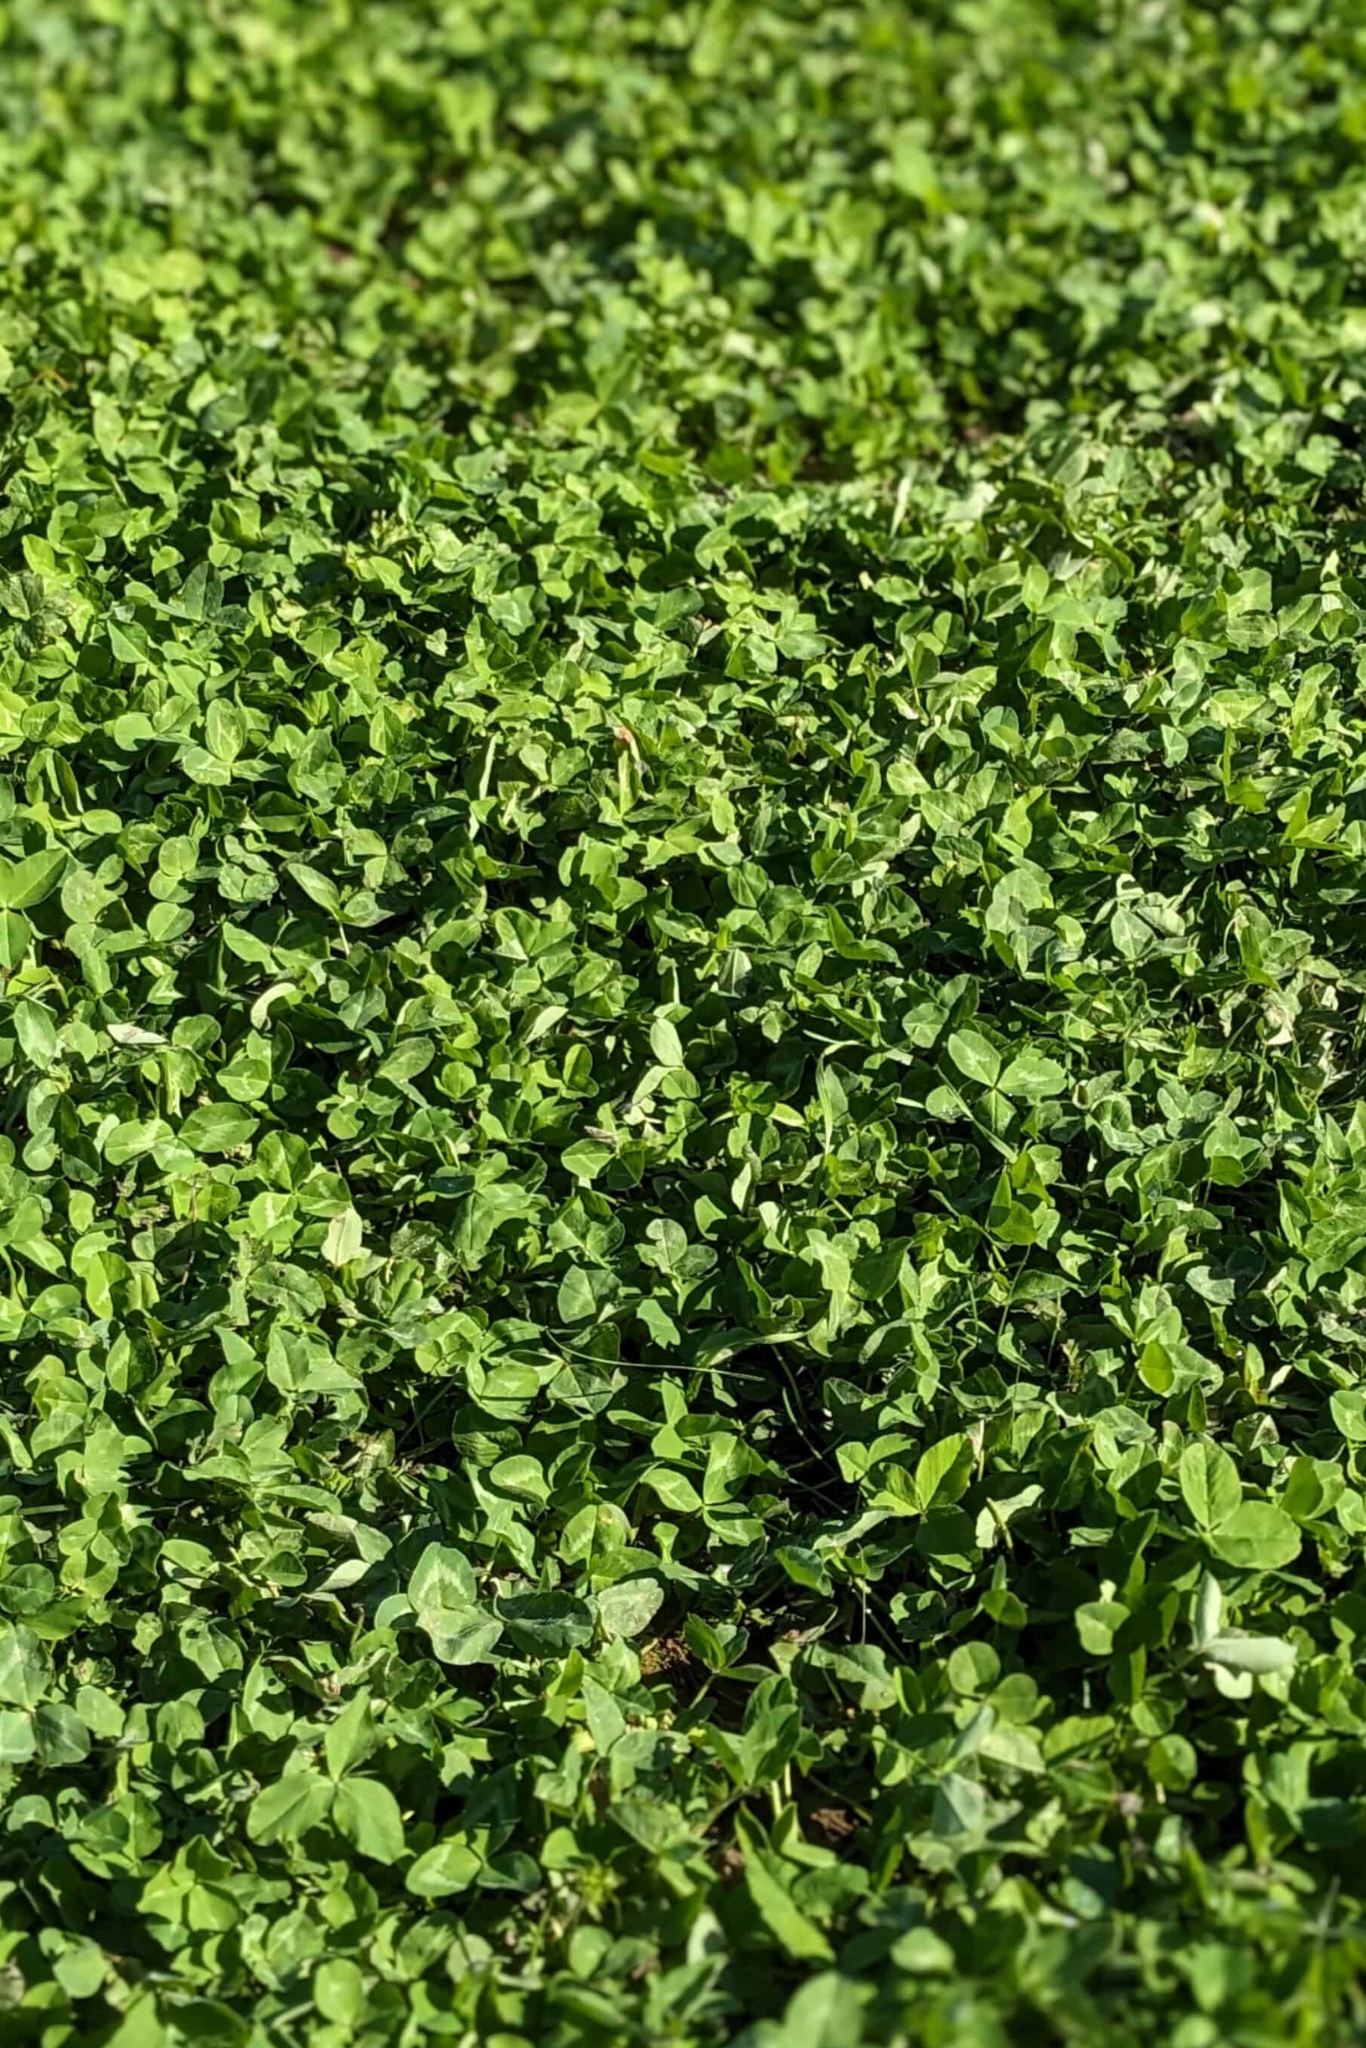
Extra Wide Clover filled walkways.
Have the walkways between the beds twice as big as you need them. This allows those super productive plants to spill over a bit into the walkway and allows you to still mow a path down the middle if you need to. We’ve been killing the grass with the “cover and kill” method mentioned below and then overseeding these extra large walkways with clover; it’s delicious to walk on. We mow the paths at the beginning and end of the season, blowing the clover onto the beds. Walking through the clover makes a fairy-like trail though the blooming plants and adds to the aesthetic and tactile delight. These paths make you realize why the phrase “walking in clover” is a thing. It’s cool, soft, moist, and resilient to traffic. Plus all the amazing clover to harvest and dry for tea on top of it being a nitrogen fixer.

Clover for grass suppression, herbal tea, medicinal salves, pollinators, and beauty. Walk on clover!
Your garden needs gates wide enough for the Chonk! Even if you can’t afford one now, make those gates big enough for her down the line. On top of the “human” gate wide enough for us and the Chonk, we also made a wider gate with a cattle panel so that we can drive the truck in close to the beds. The cattle panel gate is harder to open than a swing gate, but we don’t need to use it much.
3. COVER AND KILL
“Every act of creation is first an act of destruction”
Cover and kill grass in the summer when it’s at its peak, but if you miss that window, do it anytime to get started. By killing all aerial growth during the summer when the energy of the plant is above ground, you get a head start on killing roots. When the plants are dead, the root system breaks down creating little pockets of composted material underground. If the tops and root system are dead by the time winter and frosts come, you get an amazing ground heave leaving the soil much more tilthy and fluffy. It’s visually taller as well.
Try not to walk on your beds and compress the soil. We lay a board or some rocks down at the halfway point to get across.

UV Billboard tarps starting a new garden space. I don’t even bother cutting the grass short, it’ll compost.
To cover and kill, you can use cardboard, sheet metal, or UV billboard tarps for example. Regular store bought tarps break down and get brittle leaving microplastics everywhere. So do sheets of clear and black plastic and those are horrible for the garden, especially when they get crumbly.
Shipping UV billboard tarps can be cost prohibitive, but local billboard companies will usually sell their old ones. I buy ours from a man outside of Springfield, MO that has more old UV tarps than he knows what to do with, they are stored well, and he doesn’t have time to sell them online. If you want his contact info, please email me Missouriherbs@gmail.com.
When it’s time to plant our starts, we fold and store our UV tarps to extend their life. Billboard tarps usually measure 20 millimeters thick, which is 15 millimeters thicker than conventional plastic tarps. This makes them more durable and better suited for heavy-duty or outdoor uses and they are easy to cut down to size. Most billboard tarps have undergone surface treatments that are intended to limit sun damage. These treatments keep the vinyl from fading, wearing out, or becoming brittle when exposed to UV rays. They can last for 10 years or more.The ones we get are black on one side and that’s the side we have out to the sun.
For hard to kill plants like poison ivy and Johnson grass, you may have to take additional steps. It has taken me a few years to kill these two, but this is how I’ve done it in the past. Fold the tarp in half and only cover half the area that has these hard to kill plants. Keep peeking under the tarp and when the tops look dead, slide the tarp over to the over half. This creates another round of aerial growth in the stressed out plants that were just uncovered. When the newly covered side looks dead, slide it back over to the first area. Continue doing this, back and forth, and exhaust the energy of the plants. Then in February or so, before the aerial growth would normally start waking up, cover the whole area and keep covered until you are sure everything is dead. Or start the half covered method again once it warms up if you want to give it another round.
Also, creating a big bonfire over that spot after you pull the tarp for the season also helps. Keep in mind when dealing with poison ivy, wash the tarp well with dish liquid using gloves.
Our first year beds were created by simply killing grass before the frost came the prior season and adding our amendments. We didn’t till once and I haven’t tilled in 12 years.

Wide beds with pile up material.
4. FAT MOUNDED LAZY BEDS
“The simplest solution is always best”
Make extra wide beds and decide the width by bending over while standing and see where you can easily reach. That is your center point of the bed. Now make the bed twice that big. This allows room for your plants to run wild and keeps grass far away from your beds in addition to giving you a place to walk that doesn’t need mowing.
Hugelkultur is great, but the stereotypical design in drawings that get shared online are too steep and too complicated in my opinion. The water sheets off and the material falls away. Start by laying larger rotting logs down on the newly created “cover and kill” beds. A wider, mounded, lazily built bed, layered as you can over time with rotting logs, grass clippings, leaves, leaf mould, worm castings, compost, wood chips, rice hulls from a turkey farm, “aged” straw flakes (see below), and rabbit poop etc is a more practical way to build your beds, not lose your water, and keeps material from sheeting off. Over time as you continue to add rotting logs and wood bark, you can add smaller and smaller logs, and throw in a few larger pieces. These rotting logs act as sponges holding the water under the soil.

weathered straw, rice hulls, and grass break down so quickly
There are many opinions on using wood chips. The previous fall before planting, we chipped oak and maple branches in the far end of one bed we were not planning on planting in. The bed looked so good in spring we planted cucumbers, mustard, and bok choy there. They did amazing. I never use wood chips in the garden walkways since we mow the clover to put on the beds and we don’t want to use a weed barrier in our walkways. Generally though, if you let your wood chips compost for a season (3-6 months), they are great in the garden.

mustard grew great in aged wood chips.
The plan was to start creating a bed over the course of a year before using it and then continue to pile material on during the off season every year to continuously build up the beds. However our first year beds looked so good we planted anyway. They exceeded all expectations and even set some records. Early on we overseeded one bed with Daikon radish, just to let the roots compost under the soil. The drilling roots were massive and created an abundance of leafy greens as compost for the bed. We ended up planting squash, tomatoes, and some other plants with the Daikon and everyone did great together.

Daikon was a super star in this first year garden.

Squash and Daikon in first year bed exploded in growth.

Eating winter squash as a summer squash. A young butternut type.
5. EASY MULCHING
“We don’t inherit the earth, we borrow it from our children.”
When I first started gardening I read that you can use straw in the beds, but not hay, in order to keep weed seeds out. That was one of my first beginner mistakes. There was an explosion of weeds growing right out of the straw. Since learning that mistake, I cut open the straw bales just outside of the garden and fan them out just a bit. There they age, get rained on, any seeds germinate, and the chickens scratch and pick at the straw to their hearts delight.

Ducks inside the garden and the straw laid out for the chickens to scratch outside of the garden.
There are two ways to use aged straw. One way is loose, light mulching for moisture retention and shading the soil, the other way is matted flakes for growth suppression. I usually buy my straw in late summer and let it sit out till next spring. When the weed seeds have germinated and the chickens have made light fluffy straw mulch, it’s ready to place around my plants to shade the soil and hold in moisture.
When I need growth suppression and am mulching to keep weeds and grass out, I use wet, aged straw whole or half flakes. Leave a few straw bales uncut outside of the garden and out in the weather over a season to allow all the weed seeds to germinate. When I’m ready to cover an area for no growth, I lay wet full or half straw flakes down. Plop them down like puzzle pieces anywhere in the garden you want no growth. They decompose over the season making compost for the next year.

Aengus loves helping scratch old hay off the bales for the garden.
Old hay bales are great as well. Our neighbors donated some 3-4 year old hay bales that had been sitting out in the weather, were slumping over and crumbling at the bottom from their own weight. Sitting that long, the hay seeds germinate and die, making the hay useful as mulch and a soil builder.
We allow the grass in our yard and fields to grow a bit longer than you normally would before mowing and I wait a day or two and rake it up. Grass dries quickly and makes the softest, easiest to handle mulch. I never allow green grass to touch one of my plants, but just tossed about in the bed gives it a place to dry and then it can be moved right next to the plant when it’s dry and no longer green if you need it. It also goes a long way to building up your soil. Why till down when you can build up? In our bigger areas, my husband cuts the grass in a huge circle blowing all the clippings into the middle to make it easier for me to rake up.

3-4 year old hay bales are great for mulch and soil building
Leaves make some of the best compost and starter mix there is. To transport a ton of leaves at one time, I get a giant, lightweight cheap tarp (that I would never use on the garden) and lay it in an area, fill it with leaves, then drag it to the inside of the North side of our garden and pile them up against the fence. Over time they break down into black gold. I also cover the beds with leaves. At my last farm, I fenced off a giant deciduous tree and let the leaves pile up against the fence. As the leaves break down, they create leaf mould… quite possibly the world’s best garden start mix.

A healthy patch of flowers for the garden.
6. MIX IT UP
“A garden must combine the poetic and the mysterious with a feeling of serenity and joy”
For every 2 beds, I plant 1-2 beds of perennials and wildflowers to not only encourage the pollinators, but it gives the predator bugs a place to live and overwinter.
Mix things up and except for corn, don’t plant any two like plants next to each other. A bug will land on a plant a certain number of times before settling in for the feast. If it doesn’t hit the target plant enough times, it moves on. Why give the pests a buffet line?

squash in first year beds exploded.

squash and daikon grew well together
Some of the plants people consider weeds, I just let grow in the garden. With the cover and kill method, there aren’t many but if a dandelion, plantain, chickweed, purple archangel (dead nettle), hen bit, or yarrow grow, I just leave them be. These are amazing medicinal herbs and/or are edible. Here is a purple archangel recipe.
Some plants like horsenettle seem horrible to have in the garden, they are prickly, you can’t eat them, they look god awful when near annuals, but it’s an amazing trap plant and doesn’t spread easily. It has roots that run right under the surface and can easily be pulled and the seeds stay on the dead stalks long into winter with showy yellow balls easy to pick off. Here is an article I wrote about “weeds” as amazing trap plants. We intersperce our annuals with marigolds and other flowers as well.

Passion Fruit growing on a trellis. An impromptu feature.
The passion flower grows here like a weed and when it came up in the garden, we just put an archway over it. What an abundance of fruit to eat and leaves and flowers to dry for tea. It was growing where I planned to put something else, but it was doing so well in that spot, it was easier to change our plans.
Another thing to mix up is easy fertilizer tea, I call it Fertili-tea. I fill a 5 gallon bucket about ¾ of the way full and tear up some chicory and dandelion leaves, throw in a few springs of yarrow and a scoop of compost. I loosely cover it and let it sit a few days till you see a few bubbles on the top. I stir it with a stick when I think about it. Before the planting season gets started, I also add urine, it is an amazing fertilizer.

My perennial bed

Getting to start over with wormwood, yarrow, and monarda close to the house ~ nice!
7. GET EDUCATED
“Gardening is full of mistakes, almost all of them pleasant and some of them actually instructive”
Keeping a garden journal will help you start seeing patterns and keeping track of what worked, what didn’t, and where. It’s also a nice place to track equipment maintenance, huge weather events, and other notable farm activities. I like to track when wildflowers bloom and things like the first and last frosts.
Years ago, I learned from an old timer about Dogwood and Blackberry winters. There are other small ‘winters’, but these are the two I pay attention to. In the spring when the Dogwoods bloom, you will generally get a frost and the same goes with the Blackberries. So far, every year since I’ve learned about this, after the blackberries bloom there is a little nip that would be enough to take out your very tender annuals and that is the last frost for the year. I keep saying that as the weather is getting warmer we may not be able to rely on the blackberries as the last frost anymore, but so far there has been cold weather every year at that time. As I write this the blackberry blossoms are tight and unopened, it’s chilly and wet, and the dogs and I are hunkered down inside on this yucky day.
Though I’ve cut way back on my plant walks and garden talks, I may have 1-2 a year here pretty soon. If you are interested in attending to learn more about the methods we use or home herbalism, please shoot me an email: missouriherbs@gmail.com
If you want more in-depth education on homesteading and gardening, try these friends of ours.
Wild Abundance has an online gardening & permaculture school .They also have all sorts of other classes and my goal is to make it to their in-person carpentry and tiny house classes. Their classes are phenomenal and the ladies have fun videos, their joy shines through. Some people say these are the best classes they’ve ever taken and their videos are always around as a reference library. In addition to their online school, and their youtube videos, they have a campus for their in-person classes.

Natalie and Chloe of Wild Abundance
“Our campuses are nestled in the verdant folds of the ancient mountains of Shaconage (Sha-Kon-O-Hey, Cherokee language), the Land of Blue Smoke, known in English as the Southern Appalachians. They’re all within 25-45 minutes of the town of Asheville, NC.
Through all of our classes, at each location, we teach practical skills for living with the land and cultivating a more handmade life. Plus, we foster inspiration and connections among our community of students, instructors, and staff. ”
Homesteading Family is a great resource for all things homesteading and their online library is massive. They live on 40 acres in Idaho with their 11 children where they grow, preserve, and prepare most of their own food grown right in their own backyard. With 6-7 dozen excess eggs on hand right now, I look forward to trying their lime egg preservation method. I love their newsletter and they have a tremendous amount of homesteading videos and many rabbit holes to go down on topics covering the inside and outside of the homestead.

